If you're wondering how to create a DKIM record for your domain, you first need to generate a public-private key pair through your email provider or mail server. The public key is published in DNS as a TXT record, while the private key stays securely on the sending server and signs outgoing emails. This setup allows receiving mail servers to verify your email signatures and authenticate your domain.
What Do You Need to Create a DKIM Record?
Before starting, prepare these details:
- Access to your email provider or mail server.
- Access to your domain's DNS settings.
- A DKIM selector, such as
defaultormail. - A public-private key pair, preferably using a 2048-bit RSA key where supported.
How Do I Create a DKIM Record?
Follow these steps to generate and publish your DKIM configuration.
Step 1: Generate a DKIM Key Pair
Your email provider may generate DKIM keys automatically. For example, Google Workspace provides a key-generation option in its Admin console under Apps → Google Workspace → Gmail → Authenticate email.
For a self-managed mail server, you can generate an RSA key pair using OpenSSL:
openssl genpkey -algorithm RSA -pkeyopt rsa_keygen_bits:2048 -out dkim_private.pem

openssl rsa -in dkim_private.pem -pubout -out dkim_public.pem
The private key is used by your mail server for signing. The public key is used in DNS for verification.
Never publish or share your private key.
Step 2: Choose a DKIM Selector
A selector identifies which public key receiving servers should retrieve.
For example, if your selector is default and your domain is example.com, the DNS hostname will be:
default._domainkey.example.comYou can use different selectors for different email services or key rotations, provided each sending system is configured with its corresponding selector.
Step 3: Create the DKIM TXT Record
Your DNS record normally follows this format:
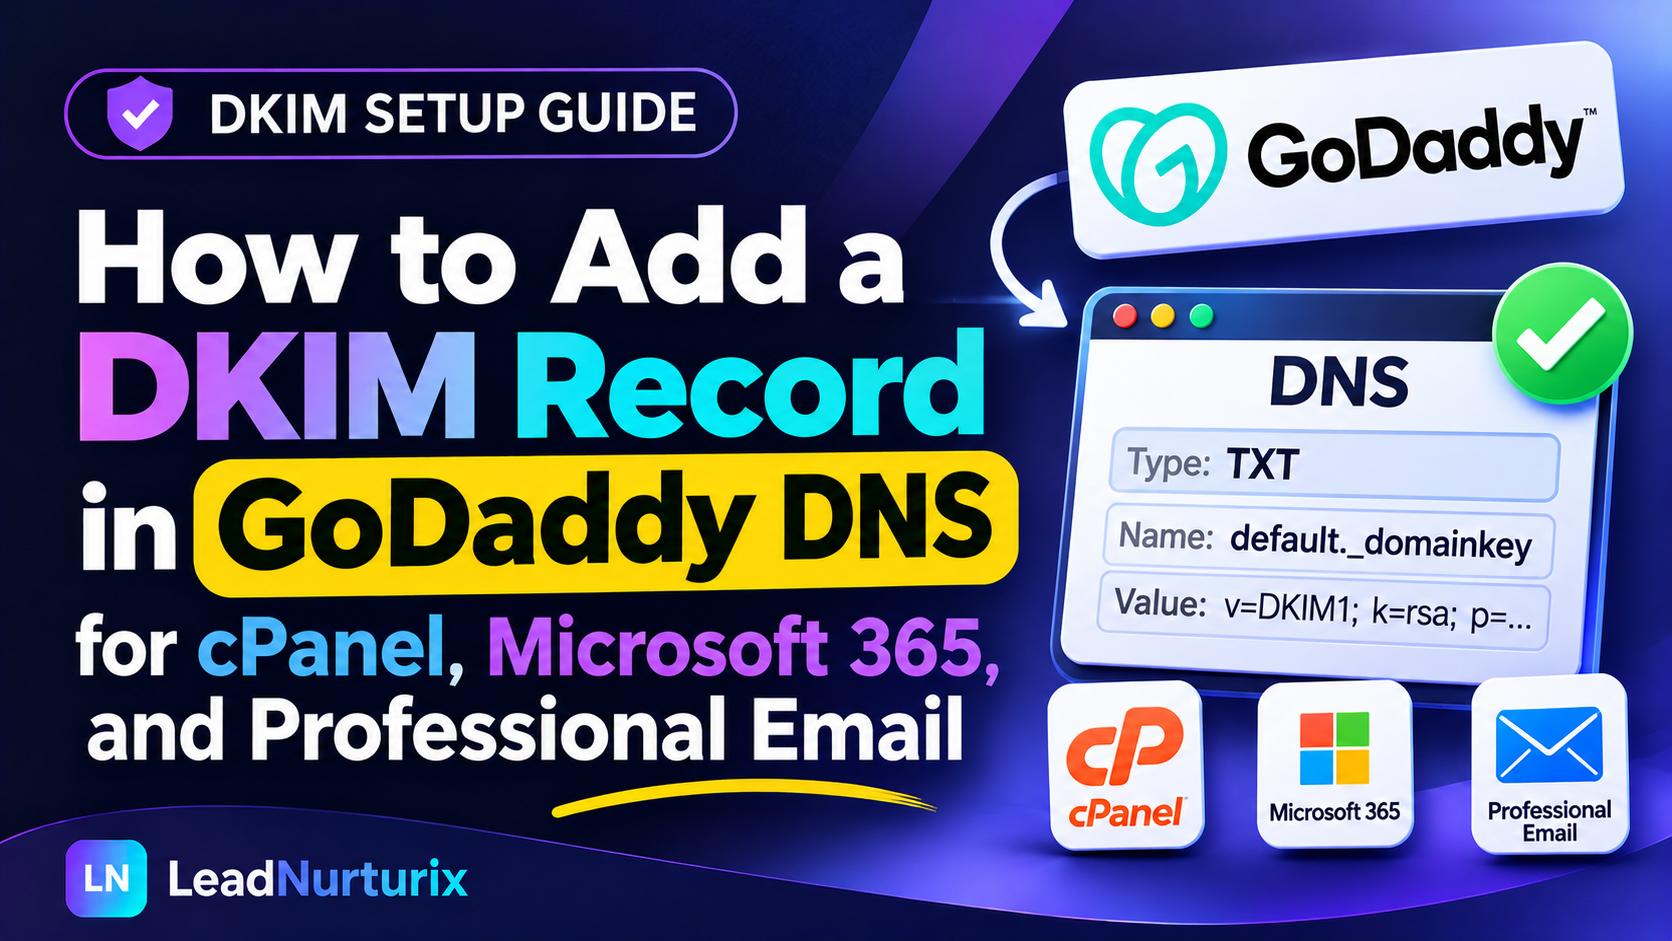
Type: TXT
Host: default._domainkey
Value: v=DKIM1; k=rsa; p=YOUR_PUBLIC_KEY
Replace YOUR_PUBLIC_KEY with the actual public key in the format required by your email system.
The p tag contains the public key. Your provider may supply the complete DNS value, so use its generated value rather than manually constructing a record from an unrelated example.
Step 4: Publish the Record in DNS
Log in to the company managing your authoritative DNS, such as Cloudflare, GoDaddy, or Namecheap.
Open DNS Management, create a TXT record, enter the selector hostname and public key, and save it.
If your email provider uses CNAME-based DKIM, follow its CNAME instructions instead of creating a TXT record.
Step 5: Enable DKIM Signing
Publishing the public key does not automatically sign outgoing emails.
Return to your email provider or mail server and enable DKIM signing using the matching private key and selector. For managed services, this may involve clicking an activation option after DNS verification.
How to Verify Your DKIM Record
After publishing the record, check whether the selector hostname returns the expected public key.
You can use the LeadNurturix DKIM Checker or DNS Lookup tool.
Next, send a test email to an external mailbox and inspect its original headers. Look for:
dkim=passThis confirms that the receiving server successfully verified the DKIM signature.
Common DKIM Setup Mistakes
- Wrong selector: The DNS hostname must match the selector in the email's DKIM-Signature header.
- Incorrect public key: An incomplete or mismatched key can cause verification failure.
- Private key exposed: Keep private keys secure on the sending infrastructure.
- Signing not enabled: A published DNS record alone does not sign emails.
- Wrong DNS provider: Update records where your domain's authoritative nameservers are managed.
Frequently Asked Questions
Can I create a DKIM record without an email provider?
Yes. You can generate a key pair yourself, but your mail server must support DKIM signing and use the corresponding private key.
Should I use a 1024-bit or 2048-bit DKIM key?
A 2048-bit RSA key is generally recommended when supported by your email provider and DNS host.
Is a DKIM record always a TXT record?
No. Many systems use TXT records containing public keys, while some managed providers use CNAME records to reference their DKIM infrastructure.
Conclusion
Creating a DKIM record involves generating a key pair, choosing a selector, publishing the public key in DNS, and enabling email signing. Verify the DNS entry and test a real outgoing message to confirm authentication is working. Combine DKIM with SPF and DMARC for a stronger email authentication setup.
About the Author
Talha Rafi is an Email Deliverability Specialist and B2B Lead Generation professional with over five years of experience in email authentication, DNS configuration, cold email infrastructure, and outreach optimization. Through LeadNurturix, he shares practical guidance to help businesses improve email authentication and deliverability.