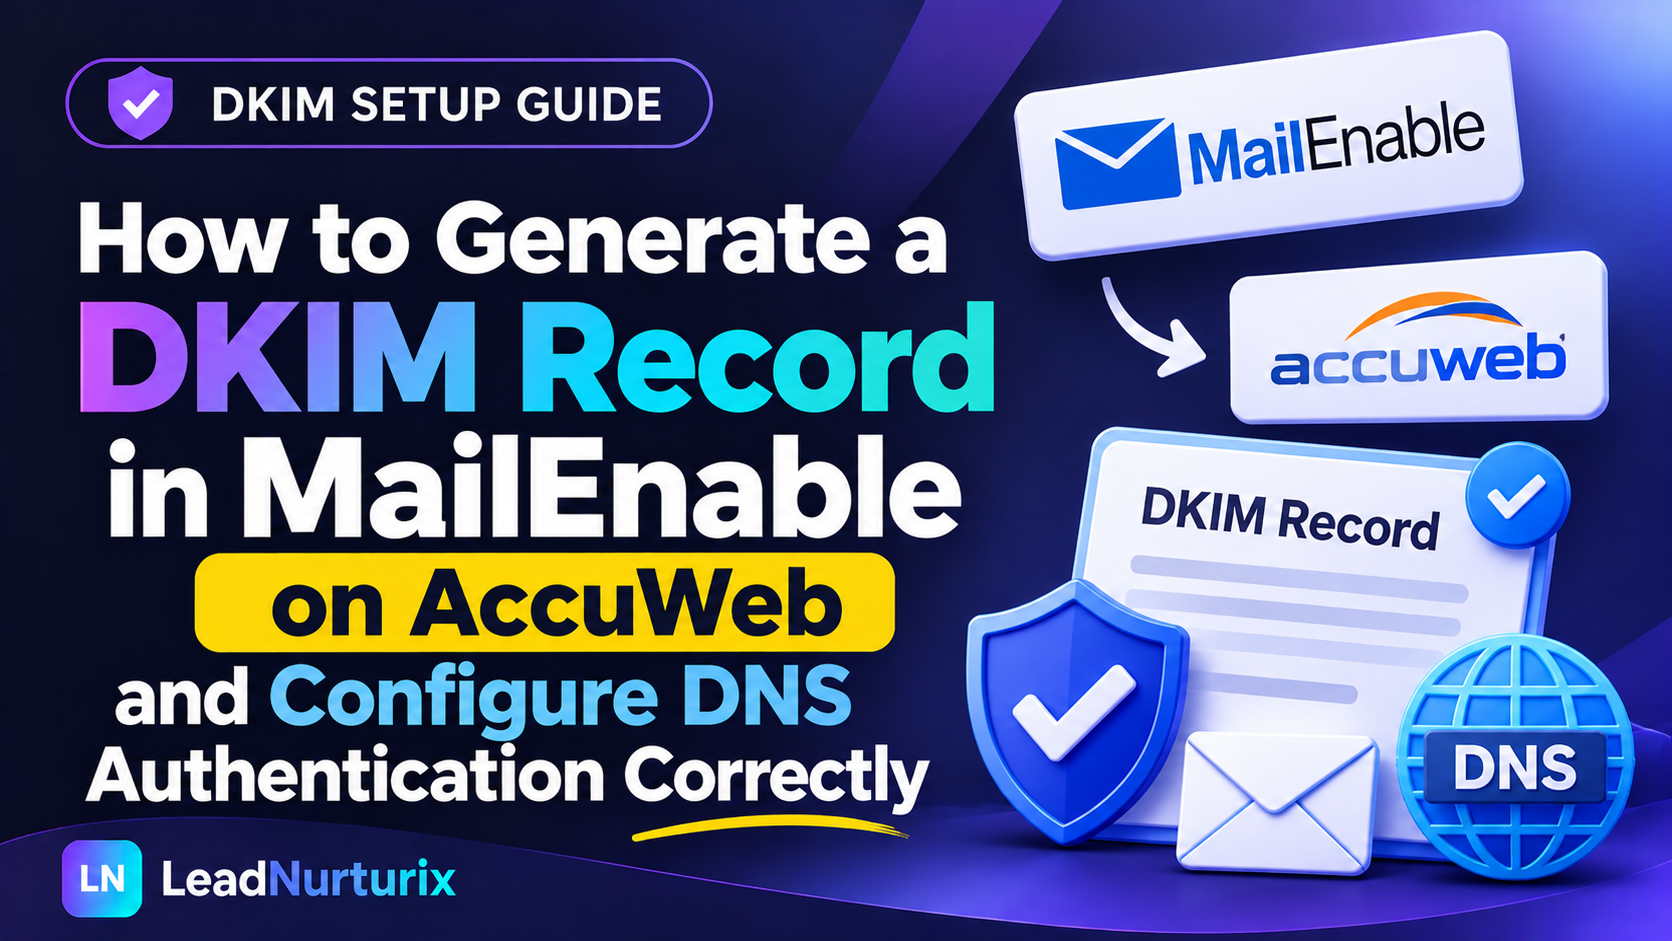
If your domain uses MailEnable on an AccuWeb Windows server, you can generate a DKIM record through the MailEnable Management Console. The process involves enabling outgoing DKIM signing, creating a selector, generating a cryptographic key pair, and publishing the public key as a DNS TXT record.
The important part is that MailEnable generates the DKIM key information, but your DNS provider must publish the public key so receiving mail servers can verify your email signatures. This guide explains the complete process, including recommended settings, DNS configuration, and common troubleshooting steps.
Quick Answer: How Do You Generate a DKIM Record in MailEnable?
To generate a DKIM record in MailEnable on AccuWeb:
- Log in to your Windows server and open MailEnable Management Console.
- Navigate to Messaging Manager → Post Offices → Your Post Office → Domains.
- Right-click your domain and open Properties.
- Select the DKIM (DomainKeys) tab and click Configure.
- Enable Sign outgoing messages.
- Select RSA-SHA256 as the encryption algorithm.
- Create a new selector and choose a 2048-bit key.
- Make the selector active and save the configuration.
- Copy the generated public key and publish it as a TXT record at
selector._domainkey.yourdomain.com.
Use the exact selector name and public key generated by your MailEnable installation. The DNS record must match the selector used in the outgoing DKIM signature.
Table of Contents
- What Is DKIM in MailEnable?
- Requirements Before Generating a DKIM Record
- How to Generate a DKIM Record in MailEnable on AccuWeb
- How to Add the DKIM TXT Record to DNS
- How to Verify MailEnable DKIM
- Common MailEnable DKIM Errors and Fixes
- SPF, DKIM, and DMARC Configuration
- Frequently Asked Questions
1. What Is DKIM in MailEnable?
DKIM stands for DomainKeys Identified Mail. It is an email authentication protocol that allows receiving mail servers to verify a digital signature attached to an outgoing message.
MailEnable uses public-key cryptography to sign outgoing emails. It generates a private key and a corresponding public key.
These keys have different purposes:
- Private key: Stored on the MailEnable server and used to sign outgoing emails.
- Public key: Published in your domain's DNS so receiving servers can verify the signature.
When a recipient's mail server receives a signed email, it looks up the public key using the selector and domain specified in the DKIM-Signature header.
If the signature can be verified, the receiving server can confirm that the signed message's relevant content has not been changed in a way that invalidates the signature.
Why configure DKIM on AccuWeb MailEnable?
Without DKIM signing, emails sent from your MailEnable server may lack an important authentication signal.
Configuring DKIM helps:
- Authenticate outgoing messages.
- Protect the integrity of signed email content.
- Support DMARC authentication and alignment.
- Provide receiving mail servers with a way to verify your domain's email signatures.
DKIM does not guarantee inbox placement, but it is an important part of a properly configured email authentication system.
2. Requirements Before Generating a DKIM Record
Before starting, make sure you have the following:
| Requirement | Purpose |
|---|---|
| AccuWeb Windows VPS or server access | Access the MailEnable installation |
| Administrator permissions | Change MailEnable domain settings |
| MailEnable Management Console | Configure DKIM signing |
| Domain configured in MailEnable | Select the domain that will sign emails |
| DNS management access | Publish the generated public key |
| Working outgoing email service | Send test messages after configuration |
You should also confirm which DNS provider manages your domain.
For example, if your domain uses Cloudflare nameservers, publish the DKIM record in Cloudflare. Purchasing your domain through another registrar does not necessarily mean that registrar manages its active DNS records.
3. How to Generate a DKIM Record in MailEnable on AccuWeb
Follow these steps on your AccuWeb Windows server.
Step 1: Open MailEnable Management Console
Log in to your Windows server using Remote Desktop.
Open the MailEnable Management Console from the Windows Start menu.
You need sufficient administrator permissions to access and modify the domain's DKIM settings.
Step 2: Navigate to Your Domain
In the left-hand navigation panel, expand:
MailEnable Management → Messaging Manager → Post Offices
Next:
- Expand the relevant Post Office.
- Click Domains.
- Locate the domain you want to configure.
For example, if you want to authenticate emails sent from example.com, locate that domain in the Domains list.
Step 3: Open Domain Properties
Right-click your domain and select Properties.
A domain properties window will open with different configuration tabs.
Select the DKIM (DomainKeys) tab.
Step 4: Open the DKIM Configuration
Click the Configure button.
This opens the DKIM signing configuration window, where you can enable signing and create a selector.
If the DKIM tab or configuration option is unavailable, check whether the installed MailEnable edition and server configuration support DKIM. You may also need to check the server-level DomainKeys extension settings or contact AccuWeb support.
Step 5: Enable Outgoing DKIM Signing
Find the option:
Sign outgoing messages
Enable this checkbox.
This setting tells MailEnable to sign outgoing messages using the active DKIM selector.
Simply generating a public key is not enough. Outgoing signing must also be enabled.
Step 6: Select the Encryption Algorithm
Choose:
rsa-sha256RSA-SHA256 is a widely supported DKIM signing algorithm.
For canonicalization, a common configuration is:
| Setting | Recommended value |
|---|---|
| Encryption algorithm | rsa-sha256 |
| Header canonicalization | relaxed |
| Body canonicalization | relaxed |
| Impose body hash length limit | Disabled |
| Include user identity | Disabled |
Relaxed canonicalization tolerates certain formatting changes, such as whitespace variations, that might otherwise cause signature verification to fail.
Step 7: Create a New DKIM Selector
A selector identifies the key pair used to sign messages and tells receiving servers which DNS public key to retrieve.
In the DKIM configuration window:
- Find the Selectors section.
- Click New Selector.
- Enter a selector name, such as
default. - Choose a key size of 2048 bits.
- Click OK to create the selector.
A selector name is not the same as your domain name.
For example, if your selector is default and your domain is example.com, the DNS hostname will normally be:
default._domainkey.example.comUse the selector name shown in your MailEnable configuration when creating the DNS record.
Step 8: Make the Selector Active
After creating the selector:
- Select it in the Selectors list.
- Enable Make this the active selector.
- Click Update if the option is available.
- Confirm the configuration.
Only one selector can be active for outgoing signing at a time.
MailEnable uses the active selector when generating DKIM signatures for outgoing messages.
Step 9: Copy the Generated Public Key
MailEnable generates the key information and displays the DNS record text in the configuration window.
Copy the complete generated public-key record.
It normally contains information similar to:
v=DKIM1; k=rsa; p=PUBLIC_KEY_CONTENTThis is only an illustrative format. Your actual public key will contain a long cryptographic string.
Do not copy the example above into DNS. Use the public key generated by your MailEnable server.
Important: Never publish or share the private key. Only the public key belongs in DNS.
4. How to Add the DKIM TXT Record to DNS
After generating the key, publish the public key in your domain's DNS.
You can manage DNS through Cloudflare, Namecheap, GoDaddy, or whichever provider hosts your authoritative DNS zone.
Step 1: Open DNS Management
Sign in to your DNS provider and open the DNS management page for your domain.
For example, if your domain is example.com and your selector is default, you will create a TXT record at:
default._domainkey.example.comStep 2: Create a New TXT Record
Use the following structure:
| DNS field | Example |
|---|---|
| Type | TXT |
| Name / Host | default._domainkey |
| Value / Content | Generated public key from MailEnable |
| TTL | Auto or provider default |
The hostname shown here assumes the selector is default. Replace it with your actual selector.
Some DNS providers automatically append the domain name. If so, enter only the host portion requested by that provider.
Step 3: Paste the Public Key
Paste the complete public-key text generated by MailEnable into the TXT record's value field.
Make sure:
- The record begins with the correct DKIM version information.
- The entire public key is included.
- No characters are missing.
- The selector in the DNS hostname matches the active selector in MailEnable.
- The record is saved successfully.
Some DNS providers split long TXT values into multiple quoted strings. This can be normal DNS behavior, provided the resulting TXT value is interpreted correctly as one record.
Step 4: Save the DNS Record
Save the new TXT record.
DNS changes may become visible quickly, but propagation and resolver caching can delay visibility.
Do not repeatedly create additional records if the first one is still propagating. First check whether the original record is publicly visible.
5. How to Verify MailEnable DKIM
Once the DNS record is published, verify both the DNS key and the actual outgoing email signature.
Method 1: Check the DKIM TXT Record
Use a DNS lookup tool to query:
default._domainkey.example.comReplace default with your selector and example.com with your domain.
The lookup should return the public key generated by MailEnable.
You can also use the LeadNurturix DNS Lookup tool to inspect the published TXT record.
Method 2: Use a DKIM Checker
A DKIM checker can help identify:
- Missing selector records.
- Incorrect DNS hostnames.
- Missing public-key values.
- Invalid DKIM record formatting.
- DNS lookup failures.
Use the LeadNurturix DKIM Checker to inspect your DKIM DNS configuration.
Method 3: Send a Test Email
Send a test email from an address hosted on your MailEnable server to an external mailbox, such as Gmail.
Open the received message and inspect its original headers.
In Gmail:
- Open the received email.
- Click the three-dot menu.
- Select Show original.
- Review the authentication results.
Look for a result similar to:
dkim=passYou should also inspect the DKIM-Signature header.
It includes fields such as:
d=example.com
s=default
Here:
didentifies the signing domain.sidentifies the selector.
The selector and signing domain should correspond to the DNS public key you published.
A successful DNS lookup alone does not prove that MailEnable is signing messages. Check the actual message headers to confirm that DKIM authentication passes.
6. Common MailEnable DKIM Errors and Fixes
Error 1: DKIM Record Not Found
This can happen when the DNS record is published under the wrong hostname.
For example, you may have created:
example.cominstead of:
default._domainkey.example.comFix: Check the active selector in MailEnable and publish the public key at the matching selector hostname.
Error 2: DKIM Authentication Fails
Possible causes include:
- Incorrect public key.
- Wrong selector.
- Wrong signing domain.
- Private key mismatch.
- Message content modified after signing.
Fix: Compare the d= and s= values in the DKIM-Signature header with the DNS record. Confirm that the private key on the server corresponds to the published public key.
Error 3: Outgoing Emails Are Not Signed
Generating a selector does not automatically mean all outgoing emails are being signed.
Fix: Open the domain's DKIM configuration and confirm that Sign outgoing messages is enabled and the intended selector is active.
Error 4: Incorrect DNS TXT Record Formatting
A public key may be incomplete or contain formatting errors after being copied into DNS.
Fix: Copy the complete generated text again and check that your DNS provider has saved the entire value. Be careful when manually editing long TXT records.
Error 5: Wrong Selector in the DNS Record
Suppose MailEnable signs with:
s=defaultBut your DNS record exists at:
mail._domainkey.example.comThe receiving server will look up the wrong hostname and fail to find the corresponding key.
Fix: Make sure the selector in the DKIM-Signature header matches the DNS record name.
Error 6: DKIM Tab Is Missing
The DKIM configuration may not be available because of the installed MailEnable edition, server-level configuration, or permissions.
Fix: Confirm your MailEnable installation supports DKIM, check the DomainKeys extension settings, and ask AccuWeb support to review the server configuration if necessary.
7. SPF, DKIM, and DMARC Configuration
DKIM should be part of a broader email authentication setup.
| Protocol | Purpose |
|---|---|
| SPF | Identifies sending infrastructure authorized for a domain |
| DKIM | Verifies a cryptographic signature on outgoing messages |
| DMARC | Defines how receiving servers should handle authentication failures and provides reporting |
For a domain sending email through MailEnable, configure SPF to authorize the actual sending server or service, publish the DKIM public key, and implement an appropriate DMARC policy.
DMARC checks whether SPF or DKIM passes with alignment to the visible From domain. A DKIM pass alone does not guarantee DMARC pass if the signing domain is not aligned and SPF does not provide an aligned pass.
You can use these LeadNurturix tools to review the configuration:
8. Frequently Asked Questions
How do I generate a DKIM record in MailEnable?
Open MailEnable Management Console, navigate to your domain's Properties, select the DKIM tab, and click Configure. Enable outgoing signing, create a selector, choose a key size, and copy the generated public key into your DNS TXT record.
What DKIM key size should I use in MailEnable?
A 2048-bit RSA key is a recommended choice for a new production configuration, provided your MailEnable version and DNS provider support it.
What is a DKIM selector in MailEnable?
A selector identifies the key pair used to sign outgoing messages. It also forms part of the DNS hostname where the public key is published, such as default._domainkey.example.com.
Where does MailEnable store the DKIM private key?
MailEnable stores DKIM key files in its configuration directory. The exact location depends on the installation. The MailEnable documentation describes the Config\DKIM directory and selector-domain key filenames. Protect this directory and never publish the private key.
Do I need to restart MailEnable after generating a DKIM record?
Follow the save and update process in your installed MailEnable version. After saving the configuration, send a test email and inspect its headers rather than assuming signing is working solely because the configuration window closed.
Can I use multiple DKIM selectors?
Yes. Multiple selectors can be maintained for different keys or key rotation. However, MailEnable uses only one active selector for outgoing signing at a time.
Does AccuWeb automatically generate a DKIM record?
The MailEnable DKIM configuration process generates the key information. You still need to configure the selector, publish the public key in DNS, and verify outgoing signatures.
How do I know if MailEnable DKIM is working?
Send a test email to an external mailbox and inspect its authentication results. A successful result should show dkim=pass.
Is a DKIM TXT record enough to authenticate outgoing emails?
No. The public key must be published in DNS, and MailEnable must sign outgoing messages using the matching private key. Both sides are necessary for successful verification.
Conclusion
Generating a DKIM record in MailEnable on AccuWeb involves creating a selector, enabling outgoing message signing, generating a key pair, and publishing the public key as a DNS TXT record.
The most important checks are to use the correct selector, publish the complete public key at the matching _domainkey hostname, and confirm that outgoing emails actually receive a valid DKIM signature.
After configuring DKIM, test a real outgoing email and review its authentication headers. Combine DKIM with properly configured SPF and DMARC for a stronger email authentication setup.
Editorial Policy
LeadNurturix publishes educational content about email authentication, DNS configuration, and email deliverability. Technical instructions are based on provider documentation and practical configuration principles. Interface labels may vary between MailEnable versions.
Content Transparency
This article is an educational guide. Examples such as example.com and default are placeholders. Use the actual domain, selector, and public key generated by your MailEnable server.
About the Author
Talha Rafi is an Email Deliverability Specialist and B2B Lead Generation professional with over five years of experience in email infrastructure, DNS authentication, cold email systems, and outreach optimization. Through LeadNurturix, he shares practical guidance to help businesses improve their email authentication and sending infrastructure.