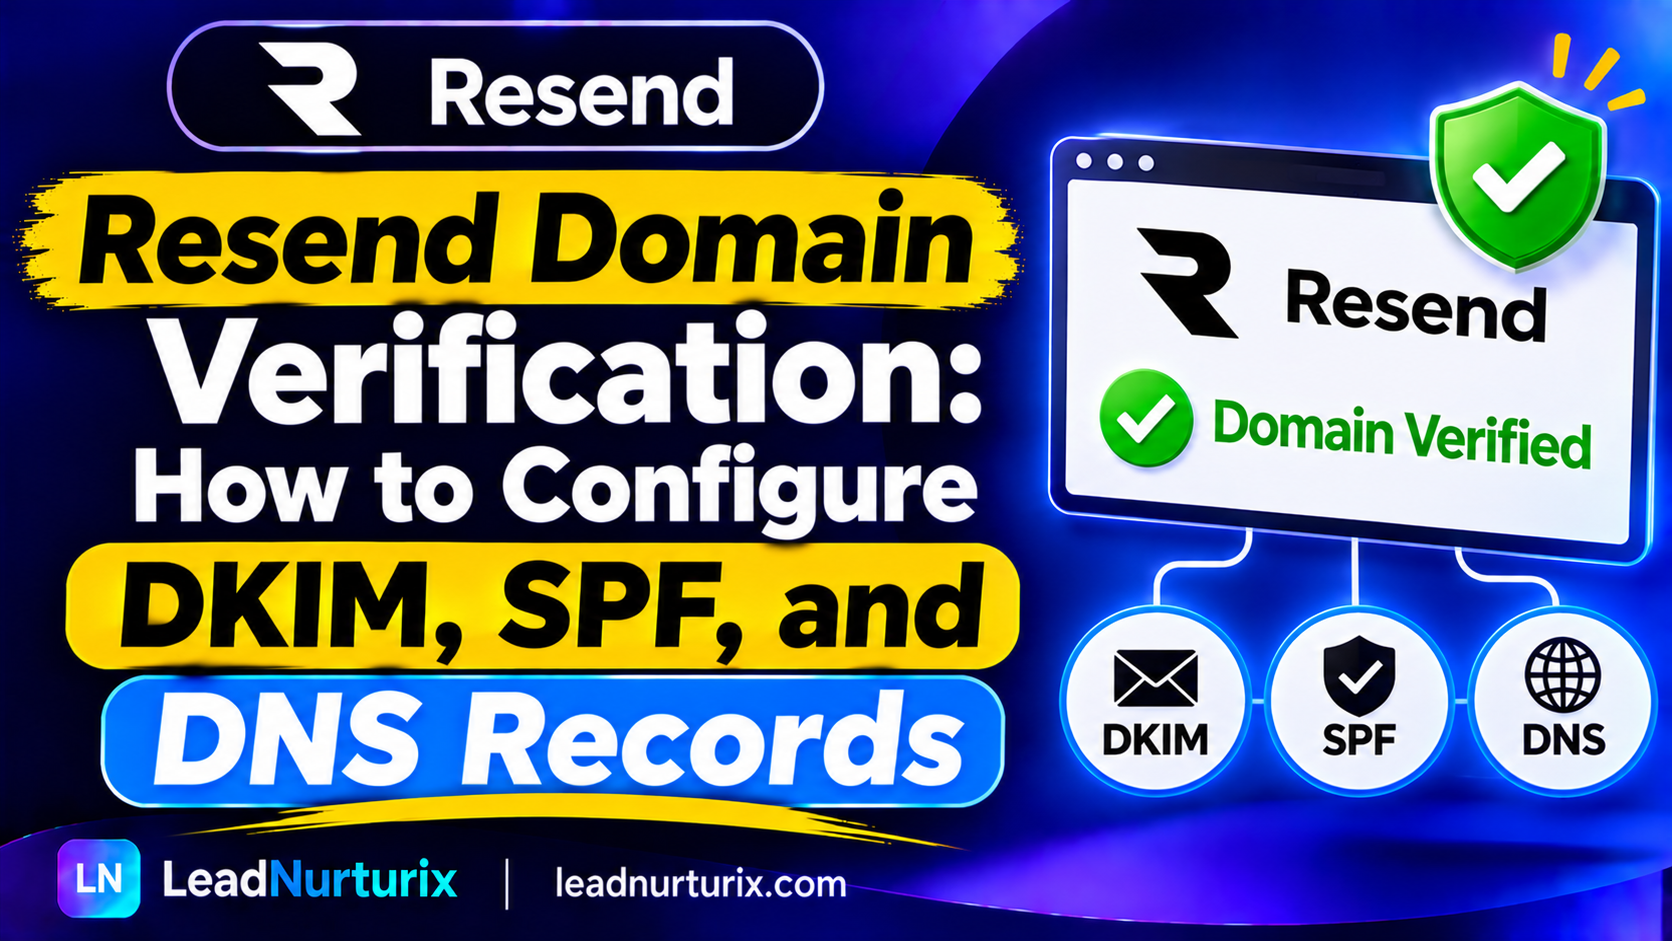
To send emails from your own domain through Resend, you must complete domain verification by publishing the DNS records provided in your Resend dashboard. These records commonly include DKIM, SPF, and an MX record for the return-path subdomain. Each record has a different purpose: DKIM authenticates outgoing messages, SPF authorizes Resend's sending infrastructure, and the MX record supports bounce processing.
This guide explains how to configure Resend domain verification DNS records, where to add them, and how to resolve common verification problems.
1. Add Your Domain to Resend
Start by signing in to your Resend account.
- Open the Domains section in the dashboard.
- Select Add Domain.
- Enter the domain you want to use for sending emails, such as
example.com. - Select the appropriate sending region if prompted.
- Open the DNS configuration details generated for your domain.
Resend will display the records required for your particular configuration. Keep this dashboard open because the exact hostnames, record types, and values are important.
2. Configure the Resend DKIM Record
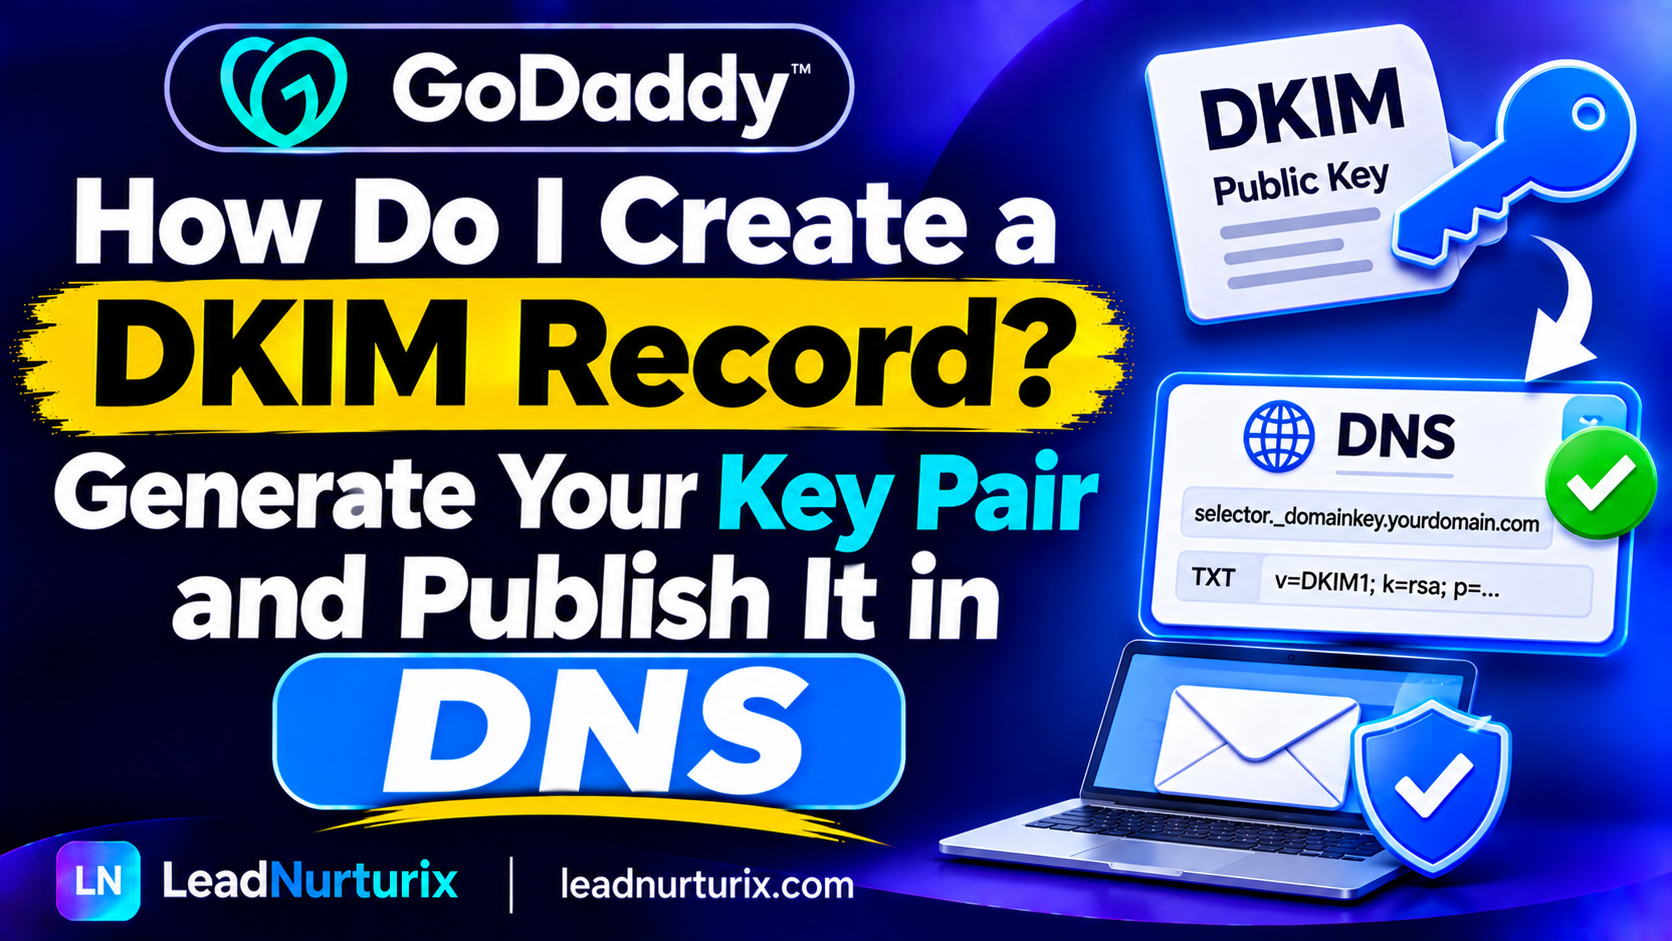
DKIM (DomainKeys Identified Mail) adds a cryptographic signature to outgoing emails. Receiving mail servers use the public key published in DNS to check that the message's signature is valid.
Resend generates the DKIM record for your domain. A typical configuration uses a TXT record with a hostname similar to:
resend._domainkey
The record value contains the public key, often beginning with p=. Its full value can be lengthy, so copy it directly from the Resend dashboard rather than typing it manually.
To publish it:
- Open your domain's DNS management panel.
- Create a new TXT record.
- Enter the DKIM hostname supplied by Resend.
- Paste the complete public-key value into the content or value field.
- Save the record.
The final DNS hostname will generally resemble resend._domainkey.example.com, but use the exact selector and hostname shown in your account.
Do not publish a private key. Resend manages the signing configuration; DNS should contain the public key supplied for verification.
3. Add Resend SPF and MX Records
Resend also uses SPF authentication to authorize its sending infrastructure. Its SPF configuration is commonly associated with a return-path subdomain rather than the root domain.
For example, Resend's default return-path hostname is commonly send, making the DNS hostname:
send.example.com
A typical Resend configuration may include the following records:
| Record type | Example hostname | Purpose |
|---|---|---|
| TXT | send | SPF authorization |
| MX | send | Bounce and return-path processing |
An example SPF value used in Resend configurations is:
v=spf1 include:amazonses.com ~all
An example MX destination in a US East region configuration is:
feedback-smtp.us-east-1.amazonses.com
These are examples, not universal values. The MX destination can depend on the sending region, and your account may use a different return-path hostname or configuration. Always copy the exact record type, hostname, value, and priority displayed by Resend.
Important: Do not automatically add Resend's SPF include to your root-domain SPF record. If Resend provides an SPF record for a separate return-path subdomain, publish it at that hostname. Also avoid creating multiple SPF policies at the same hostname.
4. Publish the Records With Your DNS Provider
After collecting the records, sign in to the service hosting your authoritative DNS zone. This could be Cloudflare, GoDaddy, Namecheap, or another provider.
For each record:
- Select the record type specified by Resend: TXT or MX.
- Enter the hostname in the provider's Host or Name field.
- Paste the complete destination or value.
- Set the MX priority exactly as instructed.
- Use the suggested TTL or leave it on Auto if supported.
- Save the changes.
One common mistake is editing DNS at the domain registrar when the domain actually uses another DNS provider. For example, if your domain's nameservers point to Cloudflare, publish the records in Cloudflare rather than the registrar's DNS panel.
5. Verify Your Domain in Resend
Once the records are saved, return to Domains in Resend and open your domain's verification details.
Start or retry verification if necessary. Resend checks the DNS records and displays their individual statuses. Depending on your configuration, you may see DKIM, SPF, or MX records still pending.
You can also use DNS inspection tools to check whether the records are publicly visible:
- Use a DKIM Checker to inspect the selector and public key.
- Use an SPF Checker to review the return-path SPF policy.
- Use DNS Lookup to inspect TXT and MX responses.
A record being visible in a DNS lookup does not automatically mean Resend has completed its verification. Check the status inside your Resend dashboard as well.
6. Common Resend DNS Verification Errors
DKIM record not found: Check the selector hostname, especially the _domainkey portion. Make sure the complete public-key value was copied without missing characters.
SPF verification failed: Confirm that the SPF TXT record exists at the return-path hostname shown by Resend. Check for duplicate SPF policies at that same hostname.
MX record is incorrect: Verify the destination and priority against the values in your dashboard. A record copied from another sending region may not match your configuration.
Records are still pending: DNS changes can take time to become visible across different resolvers. Wait for propagation and retry verification.
Records were added to the wrong DNS provider: Check your domain's nameservers and make changes in the service that actually hosts the authoritative DNS zone.
Resend's verification interface provides record-level feedback, which can help identify whether DKIM, SPF, or MX is the source of a problem.
7. Confirm Email Authentication After Verification
After Resend marks the domain as verified, send a test email to an inbox you control. Inspect the message's original headers and look for authentication results such as:
dkim=passspf=pass
The results depend on the actual message and the receiving server's authentication checks. If you use DMARC, also check whether SPF or DKIM aligns with the visible From domain.
You can configure a DMARC policy separately using a DMARC Checker. Resend's domain verification does not mean that a DMARC record has automatically been created for your domain.
Conclusion
Resend domain verification requires more than adding a single TXT record. You need to publish the DKIM, SPF, and MX records generated for your domain, using the correct hostnames and values for your sending configuration. Once DNS is updated, retry verification in Resend and test an actual email to confirm authentication results.
Always use the records displayed in your Resend dashboard as the source of truth because selectors, return-path settings, and regional destinations can differ.
About the Author
Talha Rafi is an Email Deliverability Specialist and B2B Lead Generation professional with over five years of experience in email authentication, DNS configuration, cold email infrastructure, and outreach optimization. Through LeadNurturix, he shares practical guidance to help businesses improve email authentication and deliverability.