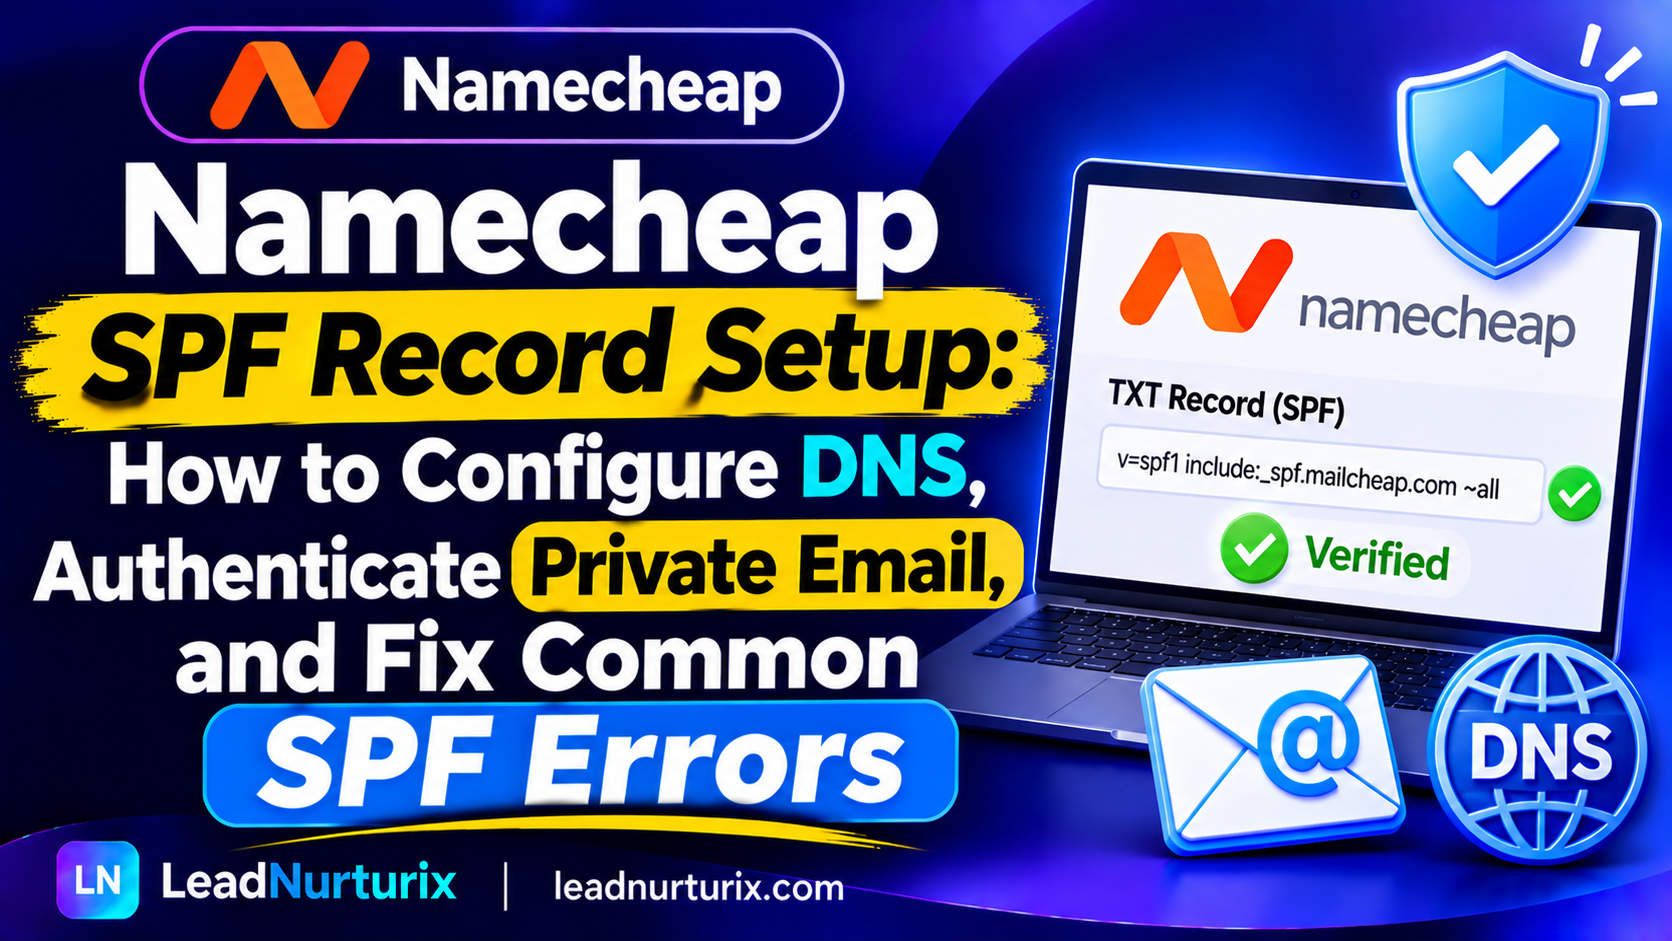
A Namecheap SPF record helps receiving mail servers determine whether an email was sent through an authorized mail server for your domain. If you use Namecheap for domain registration, DNS hosting, or Private Email, configuring SPF correctly is an important part of protecting your email identity and maintaining proper authentication.
However, the correct SPF value depends on the email service you use. Namecheap Private Email has its own SPF configuration, while Google Workspace, Microsoft 365, and other third-party email platforms require their respective authorization mechanisms.
You also need to know where your DNS is hosted. A domain using Namecheap BasicDNS can have its records managed through the Advanced DNS dashboard, while a domain using hosting or external nameservers may require changes elsewhere.
This article explains how to add a Namecheap SPF record, configure Private Email, identify the correct DNS location, and troubleshoot common SPF problems.
Quick Answer: What Is the Namecheap SPF Record?
If you use Namecheap Private Email, the documented SPF value is:
v=spf1 include:spf.privateemail.com ~allFor Namecheap BasicDNS, PremiumDNS, or FreeDNS, you can add it as a TXT record using these settings:
| Field | Value |
|---|---|
| Type | TXT Record |
| Host | @ |
| Value | v=spf1 include:spf.privateemail.com ~all |
| TTL | Automatic |
This value is intended for Namecheap Private Email. It is not a universal SPF record for every domain registered with Namecheap.
If you use another email provider, follow that provider's SPF instructions instead.
Table of Contents
- What Is a Namecheap SPF Record?
- Which SPF Record Should You Use with Namecheap?
- How to Add an SPF Record in Namecheap
- How to Edit an Existing Namecheap SPF Record
- What If You Cannot Edit DNS in Namecheap?
- How to Check Your Namecheap SPF Record
- Common Namecheap SPF Errors and Their Fixes
- SPF, DKIM, and DMARC: Understanding the Difference
- Namecheap SPF Configuration Best Practices
- Frequently Asked Questions
1. What Is a Namecheap SPF Record?
SPF stands for Sender Policy Framework. It is an email authentication protocol that uses DNS to identify which sending servers are authorized to send messages using a particular domain.
An SPF policy is published as a DNS TXT record.
For example:
v=spf1 include:spf.privateemail.com ~allThis policy authorizes the sending infrastructure described by the referenced Namecheap SPF policy.
When a receiving mail server gets an email, it can check the relevant envelope-sender domain and compare the sending IP address against the domain's SPF policy.
If the sending IP is authorized, the SPF evaluation can return a pass result.
Why Is SPF Important for Namecheap Domains?
A properly configured SPF record helps:
- Identify authorized email-sending services.
- Reduce the risk of unauthorized domain spoofing.
- Support DMARC email authentication.
- Investigate email authentication failures.
- Maintain a consistent DNS authentication setup.
Remember that buying a domain from Namecheap does not automatically mean Namecheap is your email provider.
You may register a domain at Namecheap but send email through Google Workspace, Microsoft 365, or another platform. Your SPF record must authorize the actual sending infrastructure.
2. Which SPF Record Should You Use with Namecheap?
The correct SPF record depends on the email service sending messages for your domain.
Here are some common scenarios.
Namecheap Private Email
If you use Namecheap Private Email, its documented SPF value is:
v=spf1 include:spf.privateemail.com ~allThis is the standard example provided in Namecheap's Private Email DNS instructions.
For a domain using Namecheap BasicDNS or PremiumDNS, the record can be added through Advanced DNS as a TXT record.
Namecheap Web Hosting and cPanel Email
If you use Namecheap shared hosting and send email through cPanel mailboxes, your SPF configuration may be different.
Namecheap provides an Email Deliverability feature in cPanel that displays the recommended SPF and DKIM records for the hosting account.
The suggested SPF value can depend on the server's outgoing IP address and the mail services configured for the domain.
Do not automatically use the Private Email SPF value for cPanel email hosting.
Instead:
- Open your Namecheap hosting cPanel.
- Find the Email Deliverability section.
- Select the domain.
- Review the suggested SPF configuration.
- Use the recommended value for your hosting setup.
Google Workspace with a Namecheap Domain
If your domain is registered with Namecheap but you use Google Workspace, the standard Google Workspace-only SPF example is:
v=spf1 include:_spf.google.com ~allThis is a Google Workspace value, not a Namecheap-specific record.
If other services also send email using the same SPF-authenticated hostname, their required mechanisms may need to be combined into one policy.
Microsoft 365 with a Namecheap Domain
For a Microsoft 365 configuration using the standard Microsoft 365 sending infrastructure, the SPF example is:
v=spf1 include:spf.protection.outlook.com -allMicrosoft's DNS instructions specify this value for the relevant Microsoft 365 setup.
If an SPF record already exists, Microsoft recommends updating the existing policy rather than creating a second SPF record.
Multiple Email Providers
You may use Namecheap Private Email for regular business communication and another platform for marketing or transactional emails.
If both services use the same SPF-authenticated hostname, their required mechanisms may need to be combined into one record.
For example:
v=spf1 include:spf.privateemail.com include:spf.protection.outlook.com ~allThis is an illustrative combination. Confirm that both services actually send using the same hostname and verify the providers' current SPF instructions before publishing it.
3. How to Add an SPF Record in Namecheap
If your domain uses Namecheap BasicDNS, PremiumDNS, or FreeDNS, you can add an SPF record through the Advanced DNS dashboard.
Follow these steps.
Step 1: Sign In to Your Namecheap Account
Open Namecheap and sign in to your account.
Navigate to Domain List from the left-hand menu.
Find the domain where you want to configure SPF.
Step 2: Open Domain Management
Click Manage next to your domain.
You will see the domain management page.
Select the Advanced DNS tab.
Step 3: Find the Host Records Section
Scroll down to the Host Records section.
Review the existing DNS entries before adding a new record.
Look for a TXT record whose value begins with:
v=spf1If an SPF record already exists at the hostname you need, edit it rather than adding another independent SPF policy.
Step 4: Add a New TXT Record
If no SPF record exists, select Add New Record.
Choose TXT Record from the record-type dropdown.
For Namecheap Private Email, the example configuration is:
| Setting | Value |
|---|---|
| Type | TXT Record |
| Host | @ |
| Value | v=spf1 include:spf.privateemail.com ~all |
| TTL | Automatic |
The @ symbol represents the root domain.
If your email provider gives you a different hostname, use the exact hostname it specifies.
Step 5: Save the DNS Record
Review the information carefully.
Make sure:
- You selected TXT Record.
- The hostname is correct.
- The SPF value matches your email provider.
- You have not created a duplicate SPF policy.
Click Save All Changes to publish the record.
Step 6: Wait for DNS Propagation
Namecheap states that newly created host records normally take around 30 minutes to take effect when using its BasicDNS, PremiumDNS, or FreeDNS services.
However, DNS caching and propagation can vary.
After waiting, check the record again to confirm that it is publicly available.
4. How to Edit an Existing Namecheap SPF Record
If your domain already has an SPF policy, you should normally update it rather than create a second one.
This is particularly important when you add a new email provider.
Step 1: Find Your Existing SPF TXT Record
Open:
Domain List → Manage → Advanced DNS
In the Host Records section, locate the TXT record beginning with:
v=spf1Step 2: Identify the Authorized Sending Services
Before editing the policy, identify all services that send email using the same SPF-authenticated hostname.
For example:
- Namecheap Private Email
- Google Workspace
- Microsoft 365
- An email marketing platform
Do not assume that every service listed in your account needs to be included in the same SPF record. Some platforms use separate return-path subdomains.
Step 3: Combine the Required Mechanisms
Suppose your existing record is:
v=spf1 include:spf.privateemail.com ~allYou start using Microsoft 365, and both services need authorization through the same SPF hostname.
An illustrative combined record would be:
v=spf1 include:spf.privateemail.com include:spf.protection.outlook.com ~allThis keeps the required mechanisms inside one SPF policy.
Step 4: Save the Updated Record
Replace the old SPF value with the updated policy.
Do not create a separate TXT record for Microsoft 365 at the same hostname.
Save the changes and verify the result.
5. What If You Cannot Edit DNS in Namecheap?
A common issue is that the Advanced DNS dashboard does not display the expected Host Records section.
This can happen when your domain is not using Namecheap's supported DNS services.
Namecheap's DNS management depends on the nameservers configured for your domain.
Scenario 1: Your Domain Uses Namecheap BasicDNS, PremiumDNS, or FreeDNS
You can manage the supported DNS records through:
Domain List → Manage → Advanced DNS
This is where you can add the SPF TXT record.
Scenario 2: Your Domain Uses Namecheap Hosting Nameservers
If your domain is pointed to Namecheap Web Hosting DNS, you may need to add or edit DNS records through cPanel.
For SPF and DKIM configuration, the Email Deliverability section can display the recommended records for your hosting account.
Scenario 3: Your Domain Uses Cloudflare or Another External DNS Provider
If your domain uses third-party nameservers, the active DNS records must be managed through that DNS provider.
For example, if Cloudflare manages your authoritative DNS, adding an SPF record inside Namecheap's Advanced DNS will not update the active Cloudflare DNS zone.
How to Check Your Nameservers
- Sign in to Namecheap.
- Open Domain List.
- Click Manage next to the domain.
- Find the Nameservers section.
- Review the configured nameservers.
This helps you identify where DNS changes need to be made.
6. How to Check Your Namecheap SPF Record
After adding or editing the record, verify that the published policy is correct.
You can use an SPF checker or DNS lookup command.
Method 1: Use an SPF Checker
Open the LeadNurturix SPF Checker.
Enter your domain and review the results.
Check whether:
- An SPF record exists.
- The policy has valid syntax.
- Multiple SPF records are published.
- The DNS lookup limit is exceeded.
- The expected email provider is authorized.
Method 2: Use NSLookup
Windows users can open Command Prompt and run:
nslookup -type=TXT example.comReplace example.com with your actual domain.
Review the returned TXT records and locate the value beginning with:
v=spf1Method 3: Use DIG
Linux and macOS users can run:
dig TXT example.comOr use the shorter output:
dig +short TXT example.comIf your email service uses a separate return-path subdomain, check that hostname as well.
Method 4: Inspect Email Headers
Send a test email through your email service.
Open the full message headers and locate the Authentication-Results header.
A successful authentication result may look like:
spf=pass
dkim=pass
dmarc=pass
These are illustrative results.
An SPF pass confirms that the sending IP was authorized for the relevant envelope-sender domain. It does not automatically guarantee DMARC alignment.
7. Common Namecheap SPF Errors and Their Fixes
Even when DNS records look correct, SPF authentication can fail because of duplicate policies, incorrect hostnames, or provider configuration problems.
Error 1: SPF Record Not Found
Possible causes:
- The record was not saved.
- The record was added to the wrong hostname.
- The domain uses external nameservers.
- DNS changes have not propagated.
- The SPF value was entered incorrectly.
How to fix it:
Check your domain's nameservers first.
Then verify that the SPF TXT record exists at the hostname used by your email service.
If you use Namecheap Private Email, check the root-domain record unless your configuration specifies another hostname.
Error 2: Multiple SPF Records Found
For example, your domain may contain:
v=spf1 include:spf.privateemail.com ~allAnd:
v=spf1 include:_spf.google.com ~allThese are two separate SPF policies at the same hostname.
They should not be published independently.
How to fix it:
Identify the services that send through the same hostname and combine their required mechanisms into one policy.
An illustrative combined record is:
v=spf1 include:spf.privateemail.com include:_spf.google.com ~allVerify that both mechanisms are appropriate for your configuration before publishing.
Error 3: SPF PermError
A Permanent Error can occur when:
- Multiple SPF policies exist.
- The SPF syntax is invalid.
- The DNS lookup limit is exceeded.
- A referenced DNS mechanism produces a permanent evaluation problem.
How to fix it:
Review the complete SPF policy, remove duplicate records, correct invalid syntax, and check the DNS lookup count.
SPF allows a maximum of 10 DNS-triggering lookups during evaluation.
Error 4: SPF Fail After Changing Nameservers
If you move your domain from Namecheap DNS to Cloudflare or another provider, your DNS configuration must be available in the new authoritative DNS zone.
The SPF record may be missing if it was not copied during the migration.
How to fix it:
- Identify the active nameservers.
- Open the DNS dashboard for that provider.
- Check whether the SPF TXT record exists.
- Recreate the correct policy if necessary.
- Verify it using a DNS lookup.
Error 5: SPF Passes but Emails Still Go to Spam
An SPF pass is not a guarantee of inbox placement.
Receiving providers also consider:
- Sender reputation.
- DKIM authentication.
- DMARC alignment.
- Message content.
- Recipient engagement.
- Sending volume and patterns.
How to fix it:
Check SPF, DKIM, and DMARC together.
Inspect actual message headers and investigate other deliverability factors rather than repeatedly changing a valid SPF record.
8. SPF, DKIM, and DMARC: Understanding the Difference
SPF is one part of email authentication.
| Protocol | Main purpose |
|---|---|
| SPF | Checks whether the sending IP is authorized for the envelope-sender domain |
| DKIM | Verifies a cryptographic signature associated with the message |
| DMARC | Checks domain alignment and provides a policy for handling authentication failures |
Why Should You Configure All Three?
SPF identifies authorized sending infrastructure.
DKIM provides a separate way to authenticate a message using a cryptographic signature.
DMARC evaluates SPF and DKIM results alongside alignment with the visible From domain.
For a more complete email authentication setup:
- Publish the correct SPF record.
- Enable DKIM through your email provider.
- Add a suitable DMARC policy.
- Monitor authentication results.
You can use the LeadNurturix DKIM Checker and DMARC Checker to investigate these configurations.
9. Namecheap SPF Configuration Best Practices
Follow these practices to avoid common authentication problems.
1. Identify Your Email Provider Before Adding SPF
Do not assume that every Namecheap domain should use:
v=spf1 include:spf.privateemail.com ~allThis value is for Namecheap Private Email. Other services require their own SPF configuration.
2. Check Your Nameservers First
Confirm whether your domain uses Namecheap BasicDNS, PremiumDNS, FreeDNS, hosting nameservers, or an external DNS provider.
Make DNS changes in the authoritative DNS zone.
3. Maintain One SPF Policy Per Hostname
If multiple email services use the same SPF hostname, combine their mechanisms into one valid policy.
Do not publish a separate SPF policy for each provider at the same hostname.
4. Monitor the SPF DNS Lookup Limit
SPF permits a maximum of 10 DNS-triggering lookups during evaluation.
Review nested includes and remove unnecessary mechanisms.
5. Keep Your SPF Record Updated
If you stop using an email platform, review whether its authorization mechanism is still needed.
Do not remove a provider until you confirm that no active sending service depends on it.
6. Test Actual Email Messages
A DNS lookup confirms what is published.
Testing real emails helps you understand how receiving servers evaluate SPF, DKIM, and DMARC.
10. Frequently Asked Questions
What is the correct SPF record for Namecheap?
For Namecheap Private Email, the documented SPF value is:
v=spf1 include:spf.privateemail.com ~allOther email services, including Google Workspace and Microsoft 365, require their own SPF configuration.
Where do I add an SPF record in Namecheap?
If your domain uses BasicDNS, PremiumDNS, or FreeDNS, navigate to Domain List, select Manage, open Advanced DNS, and add a TXT record in the Host Records section.
Is an SPF record a TXT record in Namecheap?
Yes. Namecheap's DNS instructions specify that SPF records are added as TXT records.
Select TXT Record as the record type rather than looking for a separate SPF record type.
What should I enter in the Namecheap SPF Host field?
For a root-domain SPF record, enter:
@For a subdomain, enter only the subdomain label specified by your email provider.
Does Namecheap automatically add an SPF record?
Namecheap states that SPF records are added automatically for its relevant services in supported configurations. However, some hosting and DNS arrangements require manual setup. Check the actual published record rather than assuming it exists.
Can I use Google Workspace with Namecheap DNS?
Yes. You can register a domain with Namecheap and use Google Workspace for business email.
Your SPF record should authorize Google's sending infrastructure, and the DNS record must be added wherever your authoritative nameservers are managed.
Can I have two SPF records in Namecheap?
No. You should publish one SPF policy per hostname. Multiple SPF records at the same hostname can cause SPF PermError.
How long does Namecheap SPF propagation take?
Namecheap states that newly created host records normally take around 30 minutes to take effect on its BasicDNS, PremiumDNS, and FreeDNS services. DNS caching can cause some resolvers to show older information for longer.
Does Namecheap SPF improve email deliverability?
SPF helps receiving mail servers authenticate authorized sending sources. However, inbox placement also depends on sender reputation, DKIM, DMARC, message quality, and recipient engagement.
Conclusion
Setting up a Namecheap SPF record starts with identifying your email provider and the DNS service managing your domain.
If you use Namecheap Private Email, the documented SPF value is v=spf1 include:spf.privateemail.com ~all. If you use cPanel hosting, Google Workspace, Microsoft 365, or another platform, follow the appropriate provider-specific instructions.
Add the record as a TXT entry in the authoritative DNS zone, maintain one SPF policy per hostname, and verify the result using DNS lookup and actual email tests.
A correctly configured SPF record helps receiving mail servers evaluate your authorized sending sources and supports a more reliable email authentication setup.
Editorial Policy
LeadNurturix publishes educational content about email authentication, DNS configuration, and email deliverability. Technical recommendations are based on relevant provider documentation and established email authentication standards.
Content Transparency
DNS examples in this article are illustrative. The correct SPF value depends on your email service, DNS hosting arrangement, and sending configuration. Always confirm provider-specific instructions before changing production DNS records.
About the Author
Talha Rafi is an Email Deliverability Specialist and B2B Lead Generation professional with over five years of experience in cold email infrastructure, email authentication, domain configuration, and outbound email systems. Through LeadNurturix, he shares practical insights to help businesses understand and improve their email setup.