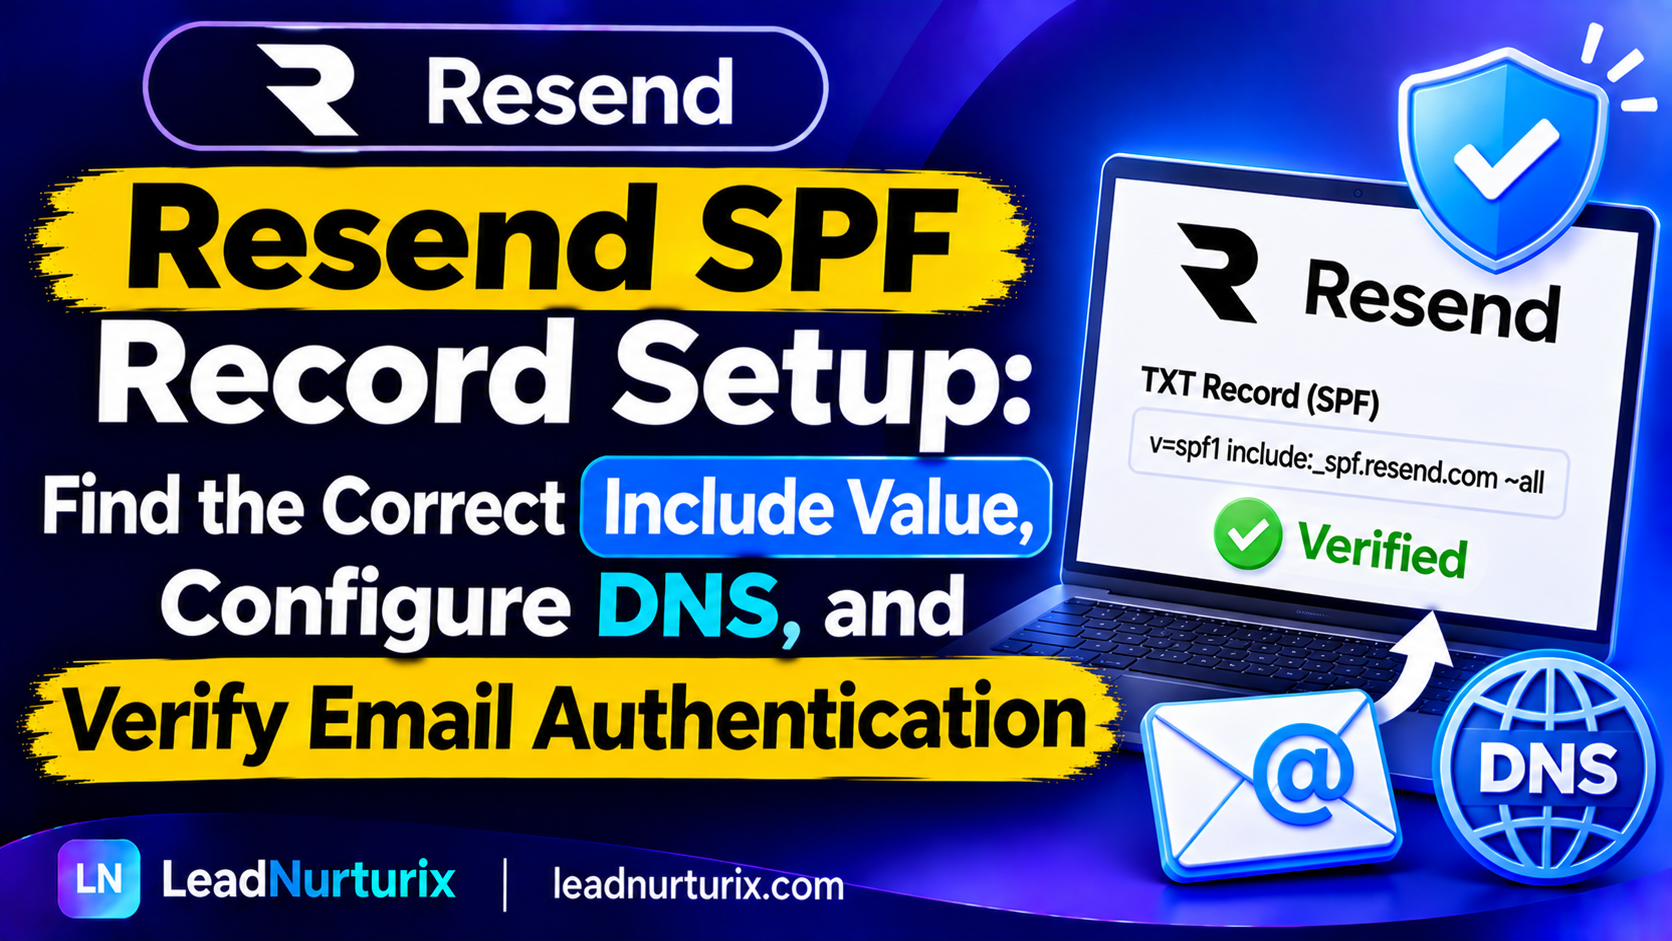
If you use Resend to send transactional emails, notifications, or application messages, configuring its SPF record is an important part of domain authentication. The commonly seen Resend SPF value is v=spf1 include:amazonses.com ~all, but the correct DNS hostname matters just as much as the value itself.
Resend typically uses a dedicated return-path subdomain, such as send.example.com, for SPF authentication. This means you should not automatically add the Resend include mechanism to your root domain's existing SPF record. In this guide, you'll learn where to find the correct Resend SPF value, how to publish it, and how to troubleshoot verification problems.
Quick Answer: What Is the Resend SPF Include Value?
A commonly used Resend SPF value is:
v=spf1 include:amazonses.com ~allThis authorizes the relevant Amazon SES sending infrastructure used by Resend.
In a typical Resend configuration, the SPF TXT record is published on the return-path subdomain rather than directly on the root domain.
| DNS field | Typical example |
|---|---|
| Type | TXT |
| Host / Name | send |
| Value | v=spf1 include:amazonses.com ~all |
| Purpose | SPF authentication for Resend's return path |
Important: These are illustrative values. Your Resend dashboard may generate a different hostname or record configuration. Always copy the exact records shown under your domain's Records tab.
Table of Contents
- What Is the Resend SPF Record?
- What Is the Correct Resend SPF Include Value?
- Why Does Resend Use a Separate Return-Path Subdomain?
- How to Add the Resend SPF Record
- How to Verify Your Resend SPF Configuration
- Common Resend SPF Errors and Their Fixes
- Resend SPF, DKIM, and DMARC: What's the Difference?
- Frequently Asked Questions
1. What Is the Resend SPF Record?
SPF stands for Sender Policy Framework. It is an email authentication protocol that allows receiving mail servers to check whether the sending infrastructure is authorized to send email for a particular domain.
When you send an email through Resend, the receiving mail server can evaluate SPF using the domain in the message's envelope sender, commonly associated with the Return-Path.
Resend uses Amazon SES infrastructure for sending. Its SPF configuration therefore commonly references Amazon SES through this mechanism:
include:amazonses.comA complete example is:
v=spf1 include:amazonses.com ~allThe record tells receiving servers to evaluate the SPF policy published by amazonses.com when checking the relevant sending domain.
SPF is only one part of email authentication. Resend also provides DKIM configuration, while DMARC can be implemented separately to establish how receiving providers should handle messages that fail authentication.
2. What Is the Correct Resend SPF Include Value?
The commonly documented Resend SPF example is:
v=spf1 include:amazonses.com ~allHowever, the correct value for your domain should always be taken from your Resend account.
Resend generates DNS records when you add a domain. The generated configuration can include SPF, DKIM, and other records required for the sending or receiving features you've enabled.
Understanding the SPF value
| SPF component | Meaning |
|---|---|
v=spf1 | Identifies the record as an SPF version 1 policy |
include:amazonses.com | References Amazon SES's SPF policy |
~all | Uses a softfail result for sources not otherwise authorized |
The include mechanism does not mean that every email service using Amazon SES is automatically authorized by your domain's SPF policy. It must be published on the correct hostname and used as part of the configuration Resend generated for your domain.
Does Resend use include:amazonses.com or include:resend.com?
The commonly seen SPF mechanism is:
include:amazonses.comIt is not safe to replace it with a guessed include:resend.com value.
More importantly, don't rely on a copied example if your dashboard displays a different record. Your account's generated DNS configuration is the authoritative reference for your setup.
3. Why Does Resend Use a Separate Return-Path Subdomain?
One important detail in Resend's SPF configuration is the Return-Path.
The Return-Path identifies the envelope sender domain used during email delivery. It can be different from the visible From address that recipients see in their inbox.
For example:
- Visible From address:
notifications@example.com - Return-Path domain:
send.example.com
Resend uses a dedicated return-path subdomain by default. Its default pattern is:
send.example.comYou can also configure a custom return-path subdomain through Resend.
Why does this matter for SPF?
SPF authentication checks the envelope sender domain rather than simply checking the visible From address.
Therefore, publishing an SPF record at example.com does not automatically make it available to send.example.com.
These are separate DNS hostnames:
| Hostname | SPF policy |
|---|---|
example.com | Applies to the root domain |
send.example.com | Applies to the Resend return-path subdomain |
updates.example.com | Applies to that separate subdomain |
If Resend asks you to publish an SPF record for send.example.com, adding the same value only to the root domain will not satisfy that requirement.
This distinction is especially important when your root domain already uses Google Workspace, Microsoft 365, or another email provider.
4. How to Add the Resend SPF Record
You can add the Resend SPF record through your DNS hosting provider. The exact interface depends on whether your DNS is managed by Cloudflare, Namecheap, GoDaddy, or another provider.
First, retrieve the records from Resend.
Step 1: Add your domain in Resend
- Sign in to your Resend account.
- Open the Domains section.
- Select Add Domain.
- Enter the domain or subdomain you want to use.
- Choose your sending region.
- Review the generated DNS configuration.
Resend recommends using a dedicated sending subdomain, such as notifications.example.com, where appropriate.
Step 2: Open the Records tab
After adding the domain, open its Records tab.
Look for the SPF-related DNS entries. Resend may show a TXT record and an MX record associated with the return-path hostname.
A typical example may look like this:
| Field | Example |
|---|---|
| Type | TXT |
| Host | send |
| Value | v=spf1 include:amazonses.com ~all |
The MX record is a separate DNS record and should also be configured if Resend displays it as required.
Do not confuse the SPF TXT record with the MX record. They serve different purposes.
Step 3: Open your DNS provider
Sign in to the provider that manages your domain's authoritative DNS records.
For example, if your domain uses Cloudflare nameservers, add the records in Cloudflare—even if you purchased the domain from Namecheap or GoDaddy.
If your domain uses a different DNS provider, make the changes there.
Step 4: Add the SPF TXT record
Create a new TXT record using the exact hostname and value generated by Resend.
For a typical example:
Type: TXT
Name: send
Content: v=spf1 include:amazonses.com ~all
TTL: Auto
Some DNS providers automatically append your domain name to the Host field. In that case, enter only the hostname portion requested by the provider.
For example, send may become:
send.example.comAvoid entering the full domain twice.
Step 5: Add the other required DNS records
Resend may also generate:
- DKIM records for message signing.
- An MX record for the return-path configuration.
- Additional records if you enable receiving or other features.
Add every required record exactly as displayed in your Resend dashboard.
Do not modify existing records unless you understand what they do.
Step 6: Wait for DNS propagation
DNS updates are not always visible immediately.
Resend says domain verification often completes within approximately 15 minutes, although DNS changes can take up to 72 hours to propagate globally.
Return to the Resend dashboard and check the verification status.
5. How to Verify Your Resend SPF Configuration
After publishing the TXT record, verify that it is publicly visible and that the correct hostname contains the expected value.
Method 1: Check Resend's domain status
Open your Resend dashboard and navigate to the domain's Records tab.
Review the status of the SPF and DKIM records.
If a record is still pending, check its hostname, type, and value before making additional changes.
Method 2: Use a DNS lookup tool
You can use a DNS lookup tool to inspect the TXT record.
For example, if your return-path hostname is send.example.com, look up its TXT records.
You should be able to find a record similar to:
v=spf1 include:amazonses.com ~allYou can also use the LeadNurturix DNS Lookup tool to inspect publicly visible DNS records.
Method 3: Use an SPF checker
An SPF checker can help identify:
- Missing SPF records.
- Incorrect SPF syntax.
- Multiple SPF policies on the same hostname.
- DNS lookup-limit problems.
- Unexpected SPF evaluation results.
Try the LeadNurturix SPF Checker to inspect your published SPF configuration.
Remember that a visible TXT record does not automatically prove that every email sent through Resend passes SPF. The actual result should be checked using the message's authentication results.
6. Common Resend SPF Errors and Their Fixes
Even when the correct SPF value is available, small DNS mistakes can prevent successful verification.
Error 1: SPF record added to the wrong hostname
This is one of the most important mistakes to avoid.
Suppose Resend requests an SPF record for:
send.example.comBut you publish it at:
example.comThe record exists, but it is not published at the hostname Resend expects.
Fix: Check the Host or Name field in the Resend Records tab. Publish the TXT record at the exact requested hostname.
Error 2: Multiple SPF records at the same hostname
A hostname should have only one SPF policy.
For example, publishing these two TXT records at the same hostname can cause an SPF PermError:
v=spf1 include:amazonses.com ~allv=spf1 include:_spf.google.com ~allIf multiple services genuinely need authorization at the same hostname, their mechanisms may need to be combined into a single SPF policy.
For example:
v=spf1 include:amazonses.com include:_spf.google.com ~allThis is only an illustrative example. Use it only if both services need authorization on that exact hostname and the resulting policy is valid.
Do not combine records that belong to different hostnames. A root-domain SPF record and a return-path subdomain SPF record can coexist because they apply to different DNS names.
Error 3: Incorrect SPF syntax
Small formatting mistakes can prevent SPF evaluation.
Examples include:
- Missing
v=spf1. - Incorrect
includesyntax. - Extra quotation marks entered manually.
- More than one SPF policy at the same hostname.
- Invalid or misplaced mechanisms.
Fix: Copy the complete SPF value directly from Resend's Records tab rather than manually rewriting it.
Error 4: SPF record is not publicly visible
Sometimes a DNS provider saves a record, but it is not immediately visible through public DNS resolvers.
Possible reasons include:
- DNS propagation delay.
- Changes made at the wrong DNS provider.
- Incorrect hostname.
- DNS record not saved.
- Nameserver configuration pointing to another provider.
Fix: Confirm which nameservers are authoritative for your domain. Then check the record at that DNS provider and allow time for propagation.
Error 5: Cloudflare proxy settings cause verification problems
TXT records are not proxied like ordinary website traffic. However, if Resend provides a CNAME record for a particular configuration, Cloudflare proxying that CNAME can interfere with verification.
Fix: Follow Resend's instructions for each record type. When Resend asks for a CNAME, use DNS-only rather than enabling the orange-cloud proxy.
Error 6: SPF lookup limit exceeded
SPF has a limit of 10 DNS-querying mechanisms and modifiers during evaluation.
If a policy contains too many nested include or other DNS-triggering mechanisms, the SPF check can fail with a PermError.
Fix: Review the complete SPF policy and its nested lookups. Don't add unnecessary providers or duplicate include mechanisms.
7. Resend SPF, DKIM, and DMARC: What's the Difference?
SPF is not the only authentication mechanism you should configure.
Resend provides SPF and DKIM records as part of domain authentication. DMARC is a separate record that you can implement to define how receiving servers should handle messages that fail authentication.
| Protocol | Main purpose | Typical DNS record |
|---|---|---|
| SPF | Authorizes sending infrastructure | TXT |
| DKIM | Verifies a cryptographic email signature | TXT or CNAME, depending on configuration |
| DMARC | Defines handling and reporting policy for authentication results | TXT |
SPF
SPF checks whether the sending infrastructure is authorized for the relevant envelope-sender domain.
For a typical Resend setup, this involves the generated return-path configuration.
DKIM
DKIM adds a cryptographic signature to outgoing messages. Receiving servers can use the public key published in DNS to verify that signature.
Resend generates the DKIM record for your domain. Publish the exact record provided in your dashboard.
Use the LeadNurturix DKIM Checker to inspect your DKIM configuration.
DMARC
DMARC helps domain owners define a policy for messages that fail authentication and receive reports about authentication activity.
It also evaluates alignment between the visible From domain and the authenticated SPF or DKIM domain.
A message can pass SPF but still fail DMARC if the relevant domains do not align and DKIM does not provide an aligned pass.
Use the LeadNurturix DMARC Checker to inspect your DMARC record.
8. Frequently Asked Questions
What is the Resend SPF include value?
A commonly used Resend SPF value is v=spf1 include:amazonses.com ~all. However, always use the exact value and hostname generated in your Resend dashboard.
Does Resend use Amazon SES for SPF?
Resend's SPF configuration commonly references Amazon SES through include:amazonses.com. The exact DNS configuration should be copied from your Resend account.
Should I add the Resend SPF record to my root domain?
Not automatically. Resend typically uses a separate return-path subdomain, such as send.example.com. Publish the SPF record at the hostname shown in your Resend dashboard.
Can I use Resend with Google Workspace?
Yes. You can use Resend alongside Google Workspace. Their SPF records may belong to different hostnames, depending on your configuration. Do not merge them into one policy unless both services actually send using the same SPF hostname.
Does Resend automatically configure SPF?
Resend generates the required DNS records, but you must publish them through your DNS provider and complete domain verification.
How long does Resend SPF verification take?
Resend says verification often completes within approximately 15 minutes, although DNS propagation can take up to 72 hours.
Can I have two SPF records for Resend?
You should not publish two SPF policies at the same hostname. If multiple services need authorization on that hostname, consolidate their mechanisms into one valid SPF record.
Does Resend SPF guarantee inbox placement?
No. SPF helps authenticate the sending domain, but inbox placement also depends on DKIM, DMARC alignment, sender reputation, recipient engagement, sending practices, and message quality.
What is the difference between Resend SPF and DKIM?
SPF checks whether the sending infrastructure is authorized for the envelope-sender domain. DKIM verifies a cryptographic signature attached to the email. Both contribute to email authentication.
How do I check whether Resend SPF is working?
Check the generated DNS record in your Resend dashboard, inspect the public TXT record, and review the SPF authentication result in a received email's headers.
Conclusion
Configuring a Resend SPF record requires more than copying an include value into a DNS field. You must publish the record at the correct hostname, which is commonly the dedicated return-path subdomain rather than the root domain.
The commonly seen value is v=spf1 include:amazonses.com ~all, but your Resend dashboard should remain the source of truth for the exact DNS configuration.
After publishing the SPF and DKIM records, verify the domain in Resend and implement DMARC to strengthen your email authentication setup.
Editorial Policy
LeadNurturix publishes educational content focused on email deliverability, DNS configuration, and email authentication. Technical instructions are reviewed for clarity and should be checked against the relevant service provider's current documentation before implementation.
Content Transparency
This article is intended for educational purposes. DNS examples are illustrative and may differ from the records generated for individual Resend accounts. Always use your account's actual DNS configuration.
About the Author
Talha Rafi is an Email Deliverability Specialist and B2B Lead Generation professional with over five years of experience in email infrastructure, DNS authentication, cold email systems, and outreach optimization. Through LeadNurturix, he shares practical guidance to help businesses improve their email authentication and sending infrastructure.